Acrylic powder is a popular product used in nail art and extensions. It helps create strong, long-lasting nails. Many people love acrylics because they look natural and can be shaped in many styles. This article will explain what acrylic powder is, how it works, and tips for using it.
What Is Acrylic Powder?
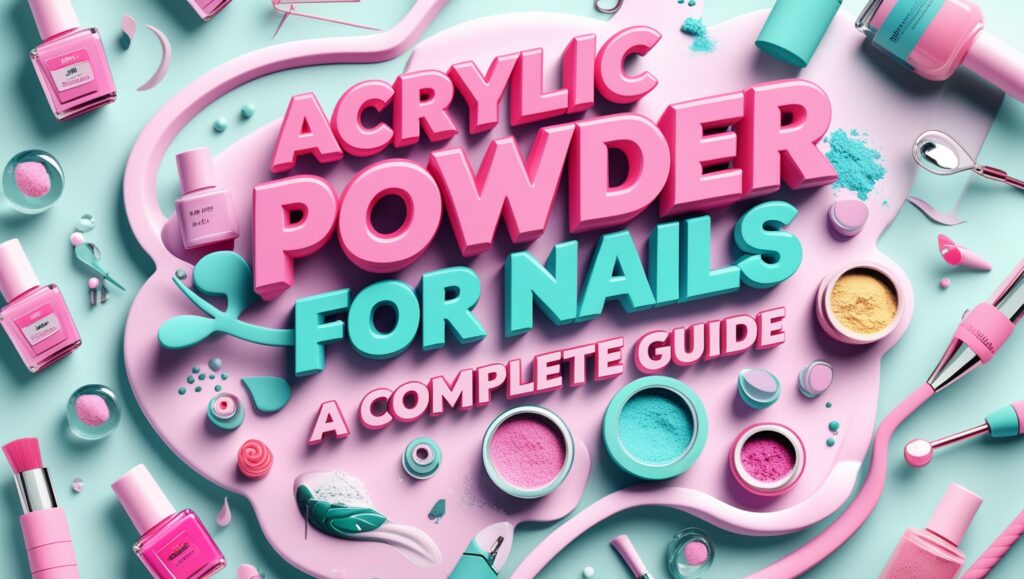
Acrylic powder is a type of polymer powder. It is made from tiny particles of plastic. When mixed with a liquid called monomer, it forms a thick paste. This paste hardens into a durable layer on the nail. The powder comes in different colors and textures. Common types include clear, pink, white, and glitter.
How Does Acrylic Powder Work?
The process starts by mixing the powder with a liquid monomer. The monomer is usually ethyl methacrylate or EMA. When mixed, a chemical reaction occurs. This reaction turns the liquid and powder into a moldable paste. The paste is applied to the natural nail or a tip extension. It hardens when exposed to air, creating a strong layer. This layer can be filed and shaped into the desired style.
Types of Acrylic Powders
- Clear Acrylic Powder: Used for a natural look. It is often applied under colored polish.
- Colored Acrylic Powder: Comes in shades like pink, red, or blue. It adds color without needing polish.
- Glitter Acrylic Powder: Contains sparkles for a shiny, eye-catching effect.
- UV/LED Acrylic Powder: Designed to cure (harden) under UV or LED lamps. This type is often used with gel products.
Each type serves a different purpose. For example, clear powder is great for French manicures. Glitter powder adds fun to party looks.
Benefits of Using Acryic Powder
- Durability: Acrylic nails last longer than regular polish. They don’t chip easily and can withstand daily tasks.
- Customization: You can shape them into any style—stiletto, square, almond, etc.
- Strength: They protect weak or broken natural nails.
- Cost-Effective: With practice, you can do acrylics at home, saving salon visits.
Step-by-Step Application Guide
Applying acrylic nails requires practice. Here’s a simple breakdown:
Tools Needed:
- Acrylic powder
- Monomer liquid
- Nail brush
- Nail tips or forms (for extensions)
- Nail file and buffer
- Primer (optional)
Steps:
- Prep the Nails:
- Clean hands and remove old polish.
- Trim and file natural nails. Push back cuticles gently.
- Lightly buff the nail surface to help the acrylic stick.
- Apply Tips or Forms:
- If extending nails, glue tips to the natural nails. Or use forms to create extensions.
- Mix Powder and Liquid:
- Dip the brush into the monomer liquid.
- Wipe excess liquid off the brush.
- Dip the damp brush into the acrylic powder. A small bead should form on the brush.
- Apply the Acrylic:
- Place the bead near the cuticle area. Use the brush to spread it toward the tip.
- Work quickly before the mixture hardens.
- Build the acrylic in layers if needed.
- Shape and File:
- Once hardened, file the nails into your desired shape.
- Smooth rough edges with a buffer.
- Finish with Polish:
- Apply base coat, color, and top coat. Cure under a lamp if using gel polish.
Common Mistakes to Avoid
- Overloading the Brush: Too much liquid or powder makes the mixture runny or lumpy.
- Wrong Ratio: Not enough powder causes weak nails. Too much powder makes the mixture dry too fast.
- Skipping Prep: Dirty or oily nails cause lifting (acrylic separating from the natural nail).
- Rough Filing: Filing too hard can thin the natural nail.
Maintaining Acryic Nails
Acrylics need care to last long. Follow these tips:
- Fill-Ins: As natural nails grow, a gap forms near the cuticle. Visit a salon every 2–3 weeks for a “fill” (adding new acrylic to the gap).
- Moisturize: Acrylics can dry out the skin. Apply cuticle oil daily.
- Avoid Harsh Chemicals: Wear gloves when cleaning or using chemicals.
- Don’t Pick: Picking at acrylics can damage natural nails.
How to Remove Acrylic Nails
Never peel off acrylics! This tears the natural nail. Safe removal steps:
- File the top layer of acrylic to break the seal.
- Soak nails in acetone for 15–20 minutes. Use a bowl or cotton balls wrapped in foil.
- Gently scrape off softened acrylic with a cuticle pusher.
- Wash hands and apply moisturizer.
Safety Tips
- Work in a well-ventilated area. Monomer fumes can be strong.
- Avoid skin contact with monomer. It may cause irritation.
- Use quality products. Cheap powders may contain harmful chemicals.
Conclusion
Acrylic powder is a versatile product for creating beautiful, strong nails. It takes time to master the application, but the results are worth it. Always prioritize nail health by following proper steps and maintenance. With practice, you can achieve salon-quality nails at home. Whether you prefer a natural look or bold designs, acrylic powder offers endless possibilities.
FAQs
1. How long do acrylic nails last?
Acrylic nails typically last 2–3 weeks. As natural nails grow, a gap forms near the cuticle. Regular “fill-ins” every few weeks help maintain the look. Avoid picking or harsh activities to extend their lifespan.
2. Can I use regular nail polish on acrylic nails?
Yes! Acrylic nails work with regular or gel polish. Apply a base coat first to prevent staining. For gel polish, cure it under a UV/LED lamp for long-lasting shine.
3. Are acrylic nails safe for natural nails?
Acrylics are safe if applied and removed properly. Avoid rough filing, peeling them off, or using low-quality products. Always moisturize and let nails “rest” between sets to prevent damage.
4. How do I fix lifting acrylic nails?
Lifting occurs when acrylic separates from the natural nail. Gently file the lifted area, clean the nail, and apply a small amount of acrylic to re-bond it. Avoid using glue or forcing the acrylic back down.
5. What’s the difference between acrylic and gel nails?
Acrylic hardens in air and is stronger for extensions. Gel needs UV/LED light to cure and is more flexible. Acrylic is better for long, dramatic shapes, while gel gives a glossy, natural finish. Some hybrids combine both!